FreeBSD: from bare metal to bhyve
Contents
FreeBSD: from bare metal to bhyve#
In this article, I explain how I moved a complete FreeBSD system that was running on bare metal to a bhyve guest, setting bhyve in that server itself and then creating the guest directly from backup files created with dump(8).
This let me replicate the running system in a way where the system could be left untouched/frozen and then move on to upgrade the host system without trouble.
Why?#
I’ve this server that runs FreeBSD 12-STABLE, which is responsible for running a few services for a customer. The core of such servers is composed by a few (big codebase) web apps written in python a long time ago.
These apps stopped being maintained and do not support recent python versions (AKA python3).
With python 2.7 being EOL since January 1, 2020 it was a matter of time this will become a nightmare regarding OS and security upgrades and patches.
FreeBSD still has 2.7 in ports (it is even available in packages at the time of writing this article), you can build both python itself and a few of other libraries, tools and packages.
But, the time will inevitably come when 2.7 be completely removed from ports/packages, and building from sources will become more complicated (as some core libraries it relies on may evolve and may not support python2 anymore).
There is also the issue of installing packages from pypi using pip, which eventually will drop support for python2 too (as it warns us every time we use pip):
DEPRECATION: Python 2.7 reached the end of its life on January 1st, 2020.
Please upgrade your Python as Python 2.7 is no longer maintained.
A future version of pip will drop support for Python 2.7.
More details about Python 2 support in pip, can be found at
https://pip.pypa.io/en/latest/development/release-process/#python-2-support
So, in this scenario, I came up with the idea of isolating these web apps somehow. The plan was to keep this server current OS “frozen” (no updates, no patches) but running the bare minimum to run these web apps. Then, move all the other services out, so they could be updated as usual when new versions, security patches, etc come up.
Also, ideally, the “frozen” system should not be accesible publicly (i.e. from the internet).
How?#
After consider a few available options, I decided to go with a bhyve vm (virtual machine) approach. It would be easier to setup (I’m going to go in details about why now) and would mean having a really isolated system (not like using jails, where some things like the OS kernel are shared with the host system, which would mean trouble when upgrading anyway).
Why would it be *easier* to set things up using bhyve?
Well, bhyve is included with the FreeBSD base, so I won’t need to install anything additional on this server. I’ve some experience running other systems in bhyve vms already and using it for FreeBSD guests works really well.
Also, this server has UFS2 filesystems and backups are done using dump(8), which means the bhyve vm could be created right away from backups, using restore(8), without having to do a full install, then install packages, then restore data from backups.
So, let’s go through the whole thing, one step at a time.
Setting up the VM#
The FreeBSD handbook has a very good page about virtualization. There you will find all the details to set up FreeBSD as host with bhyve.
Here I’ll cover the steps I followed for this setup without going into every detail.
Important
In the next chapters, I’ll show commands that were run in the host system or in the guest system. I tell beforehand if those commands are run in one system or the other but you can notice the system by the shell prompt shown in the command lines:
Host system: #
Guest system: root@:~ #
The basics#
First I did load the vmm(4) kernel module, to enable bhyve support in the host system.
# kldload vmm
Note
To load the vmm module automatically on boot, add this to /etc/rc.conf:
kld_list="vmm"
I created some place to use for the vm, to store files like virtual disks, scripts, install iso files, etc:
# mkdir -p /home/vms/{webapps,iso}
As this server runs on UFS2 (and not ZFS) I allocated some space in a file to use as the vm virtual disk (instead of using a ZVOL):
# truncate -s 100G /home/vms/webapps/vm.img
Then I grabbed the latest iso image for a FreeBSD 12.x installation (12.3-RELEASE at the time of writing this article). This is needed later, to install/populate the vm with OS/files from a backup:
# fetch http://ftp.freebsd.org/pub/FreeBSD/releases/ISO-IMAGES/12.3/FreeBSD-12.3-RELEASE-amd64-bootonly.iso -o /home/vms/iso
Note
I picked up the 12.x iso image because the host system, the system I wanted to replicate, was running 12-STABLE and I wanted the live system I was going to use for the setup, to be the same version as that host system.
Networking#
The examples provided in the virtualization pages in the handbook work fine if you want your vm to get an ipv4 address automatically (DHCP) through one of the network interfaces in the host system.
In my case, though, that won’t work. I wanted this vm to be isolated as much as possible from the network (the internet), while giving the vm access to it (DNS resolution + the webapps accessing some external resources).
With that in mind, I decided to set things up so the vm would get an ipv4 address reachable from the host (and the host one address reachable from the guest) and then use PF (Packet Filter) to give the guest access to the internet as needed.
So, I created a tap(4) interface:
# ifconfig tap0 create
And I set things up so that interface is up on creation:
# sysctl net.link.tap.up_on_open=1
Note
To keep this setting persistent across reboots:
# echo "net.link.tap.up_on_open=1" >> /etc/sysctl.conf
Then I created a bridge interface (if_bridge(4)), adding the tap interface and assigning an ipv4 address to it:
# ifconfig bridge0 create
# ifconfig bridge0 addm tap0
# ifconfig bridge0 inet 10.0.0.1/24
Note
To create the bridge on boot (add the tap interface to it and assign the ip address), add the following lines to /etc/rc.conf:
cloned_interfaces="bridge0 tap0"
ifconfig_bridge0="inet 10.0.0.1 netmask 255.255.255.0 addm tap0"
Finally, I modified /etc/pf.conf to give internet access to ip addresses in that range:
ext_if="em0"

...

bhyve_net="10.0.0.0/24"

...

nat on $ext_if from $bhyve_net to any -> ($ext_if)
Warning
This gives access to any address in that range, which would let us have more vms if needed later, without having to touch the firewall config.
We could have allowed nat only for our vm specific address too.
Note
I already had PF set up in this server (NAT support and all), so I’m writing here only the lines I had to add to /etc/pf.conf.
If you need to setup PF from scratch, you should take a look at the handbook page on firewalls to learn more about it.
With the changes done to /etc/pf.conf, I reloaded the config:
# pfctl -f /etc.pf.conf
And, with that, everything was ready in the host system to proceed with the installation and setup of the bhyve vm.
Creating/populating the vm#
As I’ve mentioned before, the idea was to replicate the host server in this vm, without having to reinstall everything.
This should be doable by restoring the dump(8) backups we have of the server but, in order to use restore(8) to do that, we need a couple of things first:
A disk with the same partitions we want to restore (size does not have to match the partitions from the host system, they just need to have enough space for the data from the backups).
A running FreeBSD system that can access such disk, as well as access the backup files.
The disk was already there (the virtual disk file I created previously) and for access to the backup files, restore(8) can be used to restore files from the network using an SSH connection for it.
All I needed was a running FreeBSD system, and this is where the FreeBSD install iso image becomes handy, as it contains several tools/utilities that could help both with partitioning the virtual disk and with setting up SSH access to those partitions on the virtual disk.
Partitioning the virtual disk#
I booted up the FreeBSD installation image inside a bhyve vm with 4 virtual CPUs, 8Gb of RAM, access to the tap0 network interface and using our virtual disk file as the main disk:
# sh /usr/share/examples/bhyve/vmrun.sh -c 4 -m 8192M -t tap0 -d /home/vms/webapps/vm.img -i -I FreeBSD-12.3-RELEASE-amd64-bootonly.iso webapps-vm
Note
I gave the vm 4 virtual CPUs and 8Gb of memory, but for the purpose of this step, a lot less would have been more than enough.
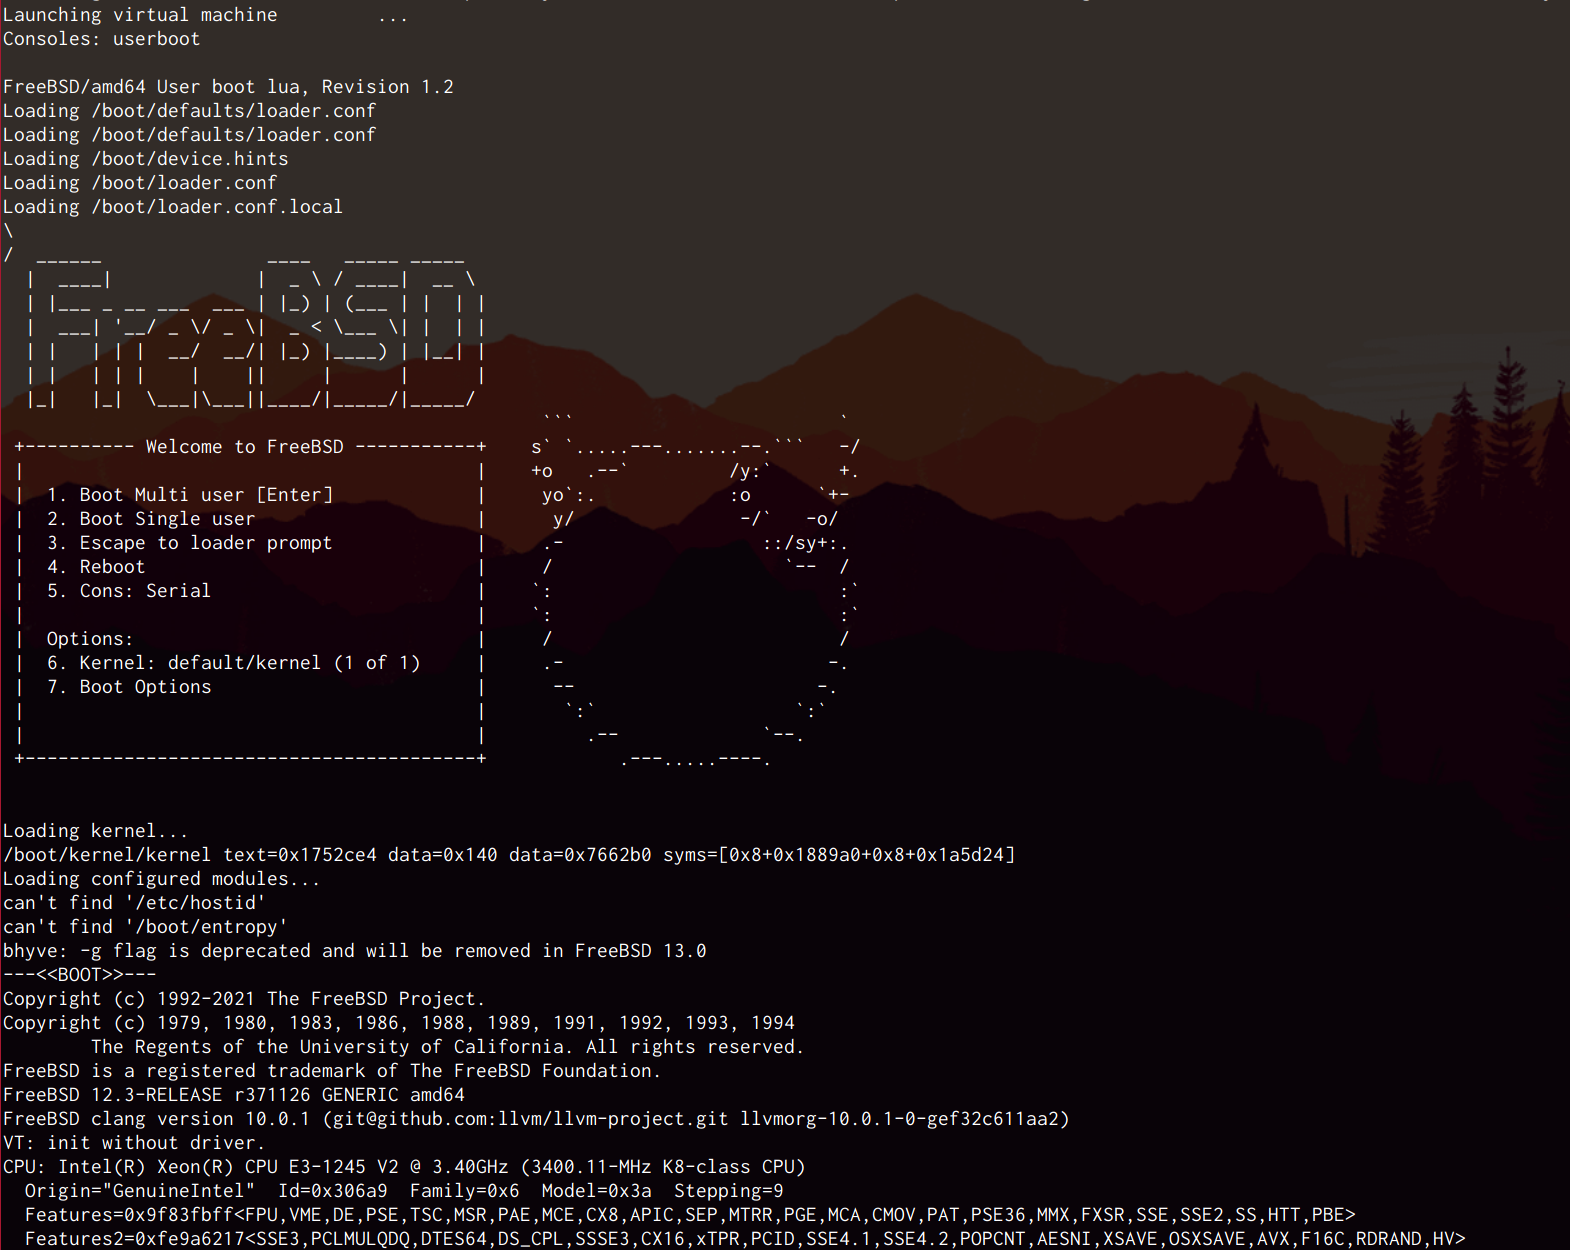
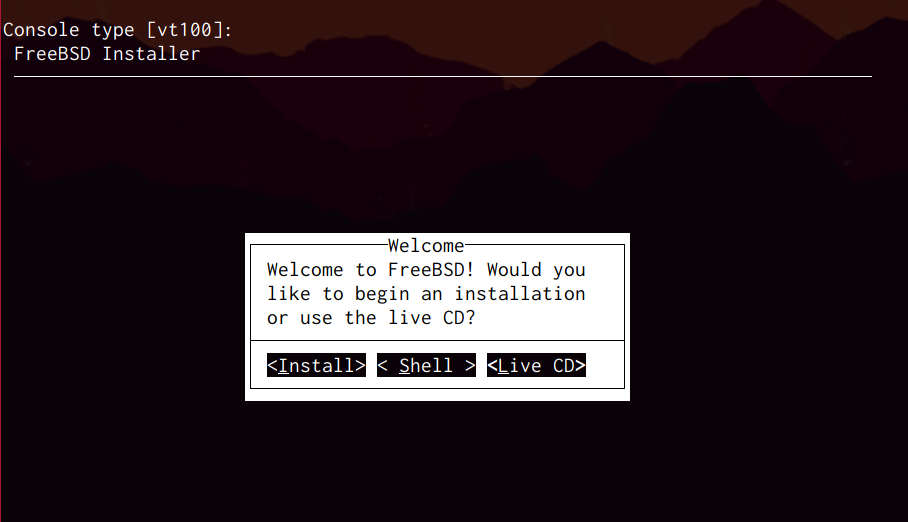
Once the installation system finished up booting, I chose the option Install.
Then I went through the initial setup steps (lang, keyboard, host name, etc) until I got to the interesting part, partitioning.
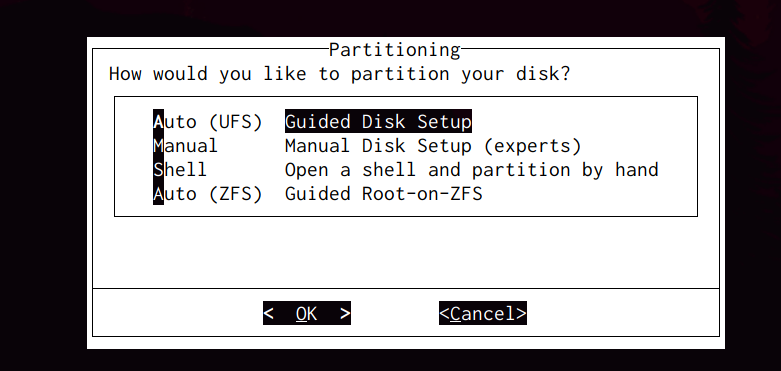
I chose the option Auto (UFS) there and then I did create as many partitions as I had in the host server, using the virtual disk (vtbd0).
Note
You can learn more about the partitioning tool in the freebsd installer, as usual, in the handbook:
https://docs.freebsd.org/en/books/handbook/bsdinstall/#bsdinstall-partitioning
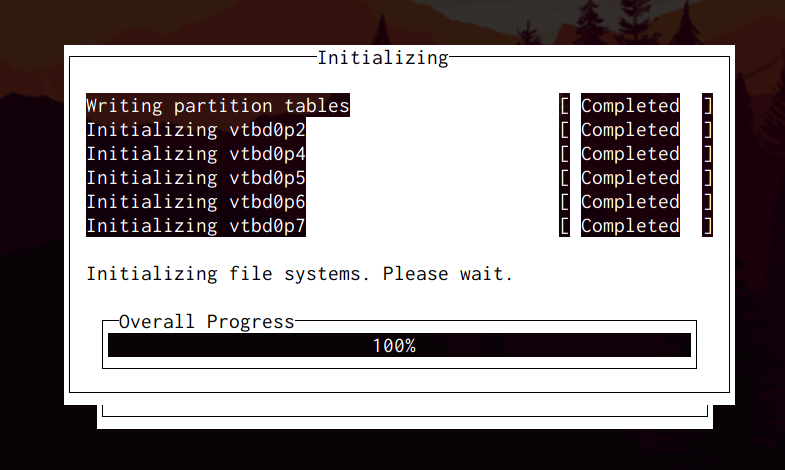
After confirming the new partitions, the installer wrote the changes to disk and I quit/exited the installer in the next step (choosing sources to be installed).
Note
You can exit the installer at any time by pressing ctrl+c. The installer asks you if you are sure you want to leave the installation and then you are sent back to the initial menu to choose install/shell/livecd.
Next I rebooted the installation image, just to be sure the virtual disk info is correctly read on boot, and this time I chose the option LiveCD from the available options, which dropped me into a shell with everything I needed
Note
To reboot, all you have to do is choose Shell or LiveCD in the menu, then type reboot to reboot the installation system.
As we are running the bhyve vm using the vmrun.sh script, it runs in an endless loop, so once the machine is rebooted it will load the installation image again.
Once I got to the liveCD system, I checked the partitions on the virtual disk
root@:~ # gpart show
=>    17  180127  cd0  MBR  (352M)
      17  180127       - free -  (352M)

=>    17  180127  iso9660/12_3_RELEASE_AMD64_BO  MBR  (352M)
      17  180127                                 - free -  (352M)

=>       40  209715120  vtbd0  GPT  (100G)
         40         24         - free -  (12K)
         64       1024      1  freebsd-boot  (512K)
       1088    2097152      2  freebsd-ufs  (1.0G)
    2098240    2097152      4  freebsd-ufs  (1.0G)
    4195392   62914560      5  freebsd-ufs  (30G)
   67109952   12582912      6  freebsd-ufs  (6.0G)
   79692864  121633760      7  freebsd-ufs  (58G)
  201326624    8388536      3  freebsd-swap  (4.0G)

=>       40  209715120  diskid/DISK-BHYVE-4235-1A1E-CF75  GPT  (100G)
         40         24                                    - free -  (12K)
         64       1024                                 1  freebsd-boot  (512K)
       1088    2097152                                 2  freebsd-ufs  (1.0G)
    2098240    2097152                                 4  freebsd-ufs  (1.0G)
    4195392   62914560                                 5  freebsd-ufs  (30G)
   67109952   12582912                                 6  freebsd-ufs  (6.0G)
   79692864  121633760                                 7  freebsd-ufs  (58G)
  201326624    8388536                                 3  freebsd-swap  (4.0G)

root@:~ #
And I used newfs(8) to create UFS2 filesystems on all the new partitions (except the freebsd-boot and freebsd-swap ones):
root@:~ # newfs -U /dev/vtbd0p2
/dev/vtbd0p2: 1024.0MB (2097152 sectors) block size 32768, fragment size 4096
        using 4 cylinder groups of 256.03MB, 8193 blks, 32896 inodes.
        with soft updates
 super-block backups (for fsck_ffs -b #) at:
  192, 524544, 1048896, 1573248
root@:~ #
Note
This step was repeated for partitions from vtbd0p2 to vtbd0p7
SSH Access to restore backups#
Then I needed to write files in the live system /etc directory, to be able to start the SSH daemon. The live system mounts the partition where its /etc directory is as read-only, but there is a way to change that (using unionfs).
First I unmounted the read-only /tmp from the live system and mounted an in-memory read-write filesystem into /tmp (512Mb in size):
root@:~ # umount -f /tmp
root@:~ # mdmfs -M -s512m md1 /tmp
root@:~ # df -h
Filesystem                            Size    Used   Avail Capacity  Mounted on
/dev/iso9660/12_3_RELEASE_AMD64_BO    352M    352M      0B   100%    /
devfs                                 1.0K    1.0K      0B   100%    /dev
tmpfs                                  32M    116K     32M     0%    /var
/dev/md1                              496M    8.0K    456M     0%    /tmp
Then I created a temporary /tmp/etc directory and used mount_unionfs(8) to get a writable /etc:
root@:~ # mkdir /tmp/etc && mount_unionfs /tmp/etc /etc
Note
From the unionfs(8) man page:
“unionfs overlays several directories into one single mount point.
It first tries to access the file on the top branch and if the file does not exist there, it continues on lower level branches…”
Then I edited /etc/ssh/sshd_config to allow ssh access to the root user:
PermitRootLogin yes
And I set a password for the root user:
root@:~ # passwd
I set an static ipv4 address for the vtnet0 interface (primary network interface for the vm) so there was a network connection host <-> guest:
root@:~ # ifconfig vtnet0 10.0.0.2 up
And finally I started the SSH daemon:
root@:~ # /etc/rc.d/sshd onestart
Generating RSA host key.
Generating ECDSA host key.
Generating ED25519 host key.
Performing sanity check on sshd configuration.
Starting sshd.
root@:~ #
Restoring data from backups#
With all in place, I mounted the root partition from the virtual disk into a temporary mount point in the live system:
root@:~ # mount /dev/vtbd0p2 /mnt
And, from the host system I sent the dump(8) based backup data, over SSH, to the guest system, telling the guest to use restore(8) to load such data:
# bzcat /backups/root_0_20221101-153000.dump.bz2 | ssh root@10.0.0.2 "cd /mnt && restore -ruvf -"
...
Create hard link ./rescue/chflags->./rescue/rescue
Create hard link ./rescue/cat->./rescue/rescue
Set directory mode, owner, and times.
Check the symbol table.
Checkpointing the restore
#
Once the restore process finished, in the guest system I checked the contents of /mnt, double checking everything was ok:
root@:~ # ls -l /mnt/
total 9580
...
-r--r--r--   1 root  wheel        6175 Feb 28  2021 COPYRIGHT
drwxr-xr-x   2 root  wheel        1024 Mar  1  2021 bin
drwxr-xr-x  11 root  wheel        1536 Feb 28  2021 boot
drwxr-xr-x   2 root  wheel         512 May 10  2012 dev
-rw-------   1 root  wheel        4096 Feb 28  2021 entropy
drwxr-xr-x  25 root  wheel        2560 Mar  1  2021 etc
...
drwxr-xr-x   2 root  wheel         512 Nov  9  2012 tmp
drwxr-xr-x   2 root  wheel         512 Nov  9  2012 usr
drwxr-xr-x   2 root  wheel         512 Nov  9  2012 var
root@:~ #
(I’ve ommited on purpose some of the contents from the root fs there)
Then, still in the guest system, I mounted all the other partitions in their respective mount points:
root@:~ # mount /dev/vtbd0p4 /mnt/tmp
root@:~ # mount /dev/vtbd0p5 /mnt/usr
root@:~ # mount /dev/vtbd0p6 /mnt/var
root@:~ # mount /dev/vtbd0p7 /mnt/home
root@:~ # df -h
Filesystem                            Size    Used   Avail Capacity  Mounted on
/dev/iso9660/12_3_RELEASE_AMD64_BO    352M    352M      0B   100%    /
devfs                                 1.0K    1.0K      0B   100%    /dev
tmpfs                                  32M    136K     32M     0%    /var
/dev/md1                              496M    372K    456M     0%    /tmp
<above>:/tmp/etc                      847M    352M    456M    44%    /etc
/dev/vtbd0p2                          992M    355M    557M    39%    /mnt
/dev/vtbd0p4                          992M    8.0K    912M     0%    /mnt/tmp
/dev/vtbd0p5                           29G    8.0K     27G     0%    /mnt/usr
/dev/vtbd0p6                          5.8G    8.0K    5.3G     0%    /mnt/var
/dev/vtbd0p7                           56G    8.0K     52G     0%    /mnt/home
root@:~ #
And I loaded the backup files from the host system to the guest system:
# bzcat /backups/var_0_20221101-153000.dump.bz2 | ssh root@10.0.0.2 "cd /mnt/var && restore -ruvf -"
# bzcat /backups/usr_0_20221101-153000.dump.bz2 | ssh root@10.0.0.2 "cd /mnt/usr && restore -ruvf -"
# bzcat /backups/home_0_20221101-153000.dump.bz2 | ssh root@10.0.0.2 "cd /mnt/home && restore -ruvf -"
After the last of the restore processes finished, I did one last check in the live system, looking through the different mount points, checking things were in place.
Then, went through the following list, disabling things that should not be started on the vm first boot from its virtual disk and adapting some of the system configs:
edit /etc/fstab to replace the entries there pointing to the old, host system, mount points (/dev/mirror/gm0p2-7) with the new ones in the vm virtual disk (/dev/vtbd0p2-7)
edit /etc/rc.conf to disable all services on boot
edit /etc/rc.conf to replace the line configuring the real network interface:
ifconfig_em0="DHCP"
with the configuration for the virtual network interface in the vm:
ifconfig_vtnet0="inet 10.0.0.2 netmask 255.255.255.0"
defaultrouter="10.0.0.1"
edit /etc/rc.conf to change the value for the hostname= parameter to the new name for the system in the vm
edit /etc/hosts to change the hostname there too.
edited several files under /var/cron/tabs, to disable some entries and prevent certain tasks from running right away in the new server after the first boot.
Warning
Editing files under /var/cron/tabs is not recommended, but I wasn’t able to find a way to override them by using crontab or installing new cron files manually there from the live system.
First boot of the new system#
Finally, I rebooted the live system (typing reboot in the live system shell prompt).
As I was running the bhyve vm in a loop using vmrun.sh, the installation image was booted again. I chose option 4 (“reboot”) in the freebsd boot menu and the execution of the vm was stopped.
Back in the host system shell prompt, I started the vm again, but this time without providing the install iso image:
# sh /usr/share/examples/bhyve/vmrun.sh -c 4 -m 8192M -t tap0 -d /home/vms/webapps/vm.img webapps-vm
The vm started and FreeBSD boot normally up to the login prompt:
FreeBSD/amd64 (webapps-vm) (ttyu0)

login:
I tried to log in as the usual users, all good.
Then I manually started the webapps services, restored cron jobs, etc.
Wrapping things up#
With the vm guest system running, double and triple checked, it was time to shut down the web apps in the host system and adjust some of the other services (like proxies, etc) to ensure everything was accessing the web apps from the guest system now.
I’ll skip this part, as it is a bit specific for this customer, but basically it meant replacing access to 127.0.0.1/localhost to the guest system ip address (10.0.0.2).
And finally, the last piece of the puzzle, setting things up in the host so the vm is started on boot. That should be easy, just some entry in /etc/rc.conf and so be it… right? RIGHT?

I wasn’t able to find such thing as a script and/or helper to boot bhyve machines included in the base system and, what was worse, looking for options in the internet (how everybody else does this?) all I found was people telling other people to use this tool or that tool for the job.
Which… should be ok, unless such tools require the vms to be created with such tools first (hey! I already had my vm and all I needed for it).
Also, in this case, I didn’t want to build some complex host server system serving a hundred bhyve vms with all the complexity that means.
All I wanted was to start this single vm when the host is rebooted/restarted.
And so, I wrote my own little *rc.d* script to do the job.
Note
I’m not saying this is the way to go. Really, really, If you are planning on setting things up from scratch to have a nice FreeBSD virtual machines server, look into all the cool projects out there like vm-bhyve or iohyve (to name two of them, I’m sure there are more).
In my case, I wanted to get this done without having to install any additional software/tools in this server.
This is the source code of the script:
 1#!/bin/sh
 2#
 3# Very simple start/stop script for bhyve vms that run freebsd guests
 4# through the vmrun.sh utility
 5#
 6# PROVIDE: vmrun
 7# REQUIRE: DAEMON
 8# BEFORE: pf
 9# KEYWORD: shutdown
10#
11# Define these vmrun_* variables in one of these files:
12#
13#       /etc/rc.conf
14#       /etc/rc.conf.local
15#
16# vmrun_enable: bool
17#   Enable vmrun ("YES") or not ("NO", the default).
18#
19# vmrun_vms : list
20#   List of directories with vms ("" by default).
21#
22
23. /etc/rc.subr
24
25name="vmrun"
26desc="Start and stop bhyve guests using vmrun.sh"
27rcvar=`set_rcvar`
28
29vmrun_start() {
30    echo "Starting bhyve vm(s):"
31    for vm in $vmrun_vms; do
32        if [ -f ${vm}/start_vm ]; then
33            echo "  ${vm} -> "
34            sh ${vm}/start_vm
35        fi
36    done
37}
38
39vmrun_stop() {
40    echo "Stopping bhyve vm(s): $vmrun_vms"
41    # kill all bhyve processes
42    pkill bhyve
43    # give the vms some time to shut down
44    sleep 10
45}
46
47vmrun_restart() {
48    vmrun_stop
49    vmrun_start
50}
51
52start_cmd="vmrun_start"
53stop_cmd="vmrun_stop"
54restart_cmd="vmrun_restart"
55
56load_rc_config $name
57
58: ${vmrun_enable="NO"}
59: ${vmrun_vms=""}
60
61cmd="$1"
62[ $# -gt 0 ] && shift
63[ -n  "$*" ] && vmrun_vms="$*"
64
65run_rc_command "${cmd}"
I’ve highlighted the lines that, IMHO, are more interesting from that simple pscript:
Lines 6-9 set when this script will be automatically executed by the system. Basically we are telling the system that this script…
…is called vmrun (PROVIDE)
…should be executed automatically on boot after all the basic daemons have been started (REQUIRE)
…should be executed before the PF firewall is enabled (BEFORE)
…should be executed also on shutdown (KEYWORD)
Lines 32-35 look, for each vm directory, for a script called start_vm. Only those vms that have such script will be started. If the script is there, it is executed in a separate sh(1)_ process.
Line 42 sends a SIGTERM signal to all bhyve processes, which makes them to run the proper shutdown procedure in the vms.
I could have relied in a stop_vm script, as the script does for the start procedure, but (again) I wanted this to be as simple as possible.
Line 44 adds a 10 seconds sleep to the process, to give any running vm enough time to shutdown.
Note
If you are interested in learning more about FreeBSD rc.d system, a very good place to start reading about it is the article Practical rc.d scripting in BSD, which will get you through the basics of the rc.d system, as well as showing you how to write a script yourself.
There you will find also links to several man pages with more detailed information.
I put that script in /usr/local/etc/rc.d and then added the following lines to /etc/rc.conf:
vmrun_enable="YES"
vmrun_vms="/home/vms/webapps"
Then I created the script /home/vms/webapps/start_vm, with the following contents:
#!/bin/sh
#
# Wrapper to call vmrun.sh inside tmux with the proper parameters
#
tmux new -d -s webapps-vm 'sh /usr/share/examples/bhyve/vmrun.sh -c 4 -m 8192M -t tap0 -d /home/vms/webapps/vm.img webapps-vm'
As you can see, the script calls /usr/share/examples/bhyve/vmrun.sh in the same way I did before in this article, but it does it inside a tmux session.
The reason to do that is to avoid blocking the terminal/tty where vmrun.sh is started (which happens if you run vmrun.sh directly). This way, the bhyve process is attached to that tmux session, and I can attach to it and get access to the vm console right away.
Note
There are several ways of doing this, using a terminal multiplexer like tmux or screen or even using the nmdm(4) nullmodem terminal driver from the base system to get a serial/console access to the vm (as explained in the virtualization page in the handbook).
Finally, I checked the vm was not running and then I started it by running the rc.d script (in the host system):
# /usr/local/etc/rc.d/vmrun start
Starting bhyve vm(s):
  /home/vms/webapps ->
#
I could see the new tmux session:
# tmux ls
webapps-vm: 1 windows (created Wed Nov 23 13:11:25 2022)
#
And I was able to attach to it:
# tmux attach -d

...

Wed Nov 23 13:11:46 CET 2022

FreeBSD/amd64 (webapps-vm) (ttyu0)

login:
Then I tested the stop procedure, calling the rc.d script from another terminal:
# /usr/local/etc/rc.d/vmrun stop
Stopping bhyve vm(s):
  /home/vms/webapps ->
#
And I was able to see, in the tmux session, all the shutdown messages while the vm was being properly shut down.
Conclusion#
Some times you have to adapt to the circumstances, the environment or simply the tools you have at hand for a job.
In this case, the ideal thing to do would be to modify/update those webapps codebase so they could run on python3 (no question about that) but that was totally off the table. The easiest thing to do would be to simply keep things running as they were, but that was going to bring bigger problems in the mid term.
So, I had to adapt and look for a middle ground, and I had to do it in a system that was not running the latest version of OS/tools (and that could not be upgraded), which made installing new stuff there a bit more complicated.
Luckily this server was running FreeBSD, which usually has (almost) all you need in its base system and is flexible enough for you to add the extra bits/pieces you may need by writing a few shell scripts.
I hope you have enjoyed the article, thanks for reading.